
How to Create a Customer in ERPNext: A Step-by-Step Guide
Embarking on efficient customer management is pivotal for the success of any business, and mastering the tools to streamline this process is key.

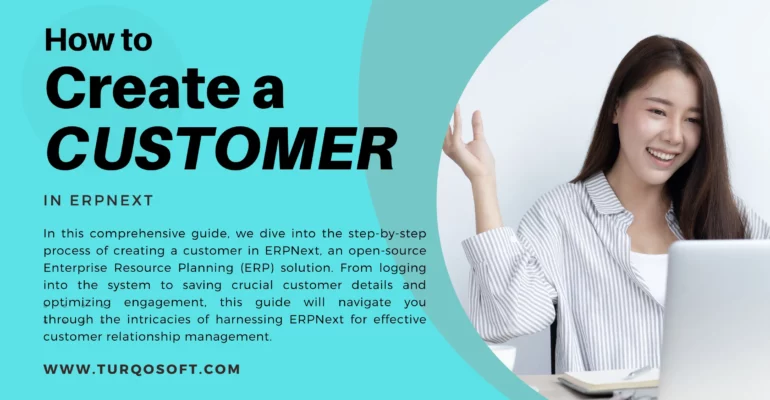
Create a Customer in ERPNext
In this comprehensive guide, we dive into the step-by-step process of creating a customer in ERPNext, an open-source Enterprise Resource Planning (ERP) solution. From logging into the system to saving crucial customer details and optimizing engagement, this guide will navigate you through the intricacies of harnessing ERPNext for effective customer relationship management. Let’s unlock the potential of this powerful tool together and elevate your business operations to new heights.
Step 1: Log in to ERPNext
The first step is to log in to your ERPNext account. Once you’ve entered your credentials, you’ll find yourself on the ERPNext dashboard.
Step 2: Navigate to the Customer Module
On the dashboard, locate and click on the “Selling” module. Here, you’ll find the “Customer” or “Customer List” option. Click on it to proceed to the customer management section.
Step 3: Create a New Customer in ERPNext
Once you’re in the Customer module, look for a button that says “New” or “Create Customer.” Clicking on this button will initiate the process of adding a new customer to your ERPNext system.
Step 4: Fill in Customer Details
A form will appear with fields to be filled out for the new customer. Key information to provide includes:
- Customer Name: Enter the name of the customer.
- Customer Type: Specify whether the customer is a company or an individual.
- Contact Information: Include the customer’s email address and phone number.
- Addresses: Input billing and shipping addresses.
Step 5: Additional Information
Depending on your business requirements, there might be additional fields to fill, such as:
- Credit Limit: Set a credit limit for the customer.
- Default Currency: Specify the currency for transactions.
- Tax Information: Provide tax details if applicable.
Step 6: Save the Customer
After entering all the necessary information, locate the “Save” button, usually at the bottom of the form. Click on it to save the newly created customer record.
Step 7: Review and Edit
Take a moment to review the customer details you’ve entered. If there are any changes or additional information to add, you can edit the customer record by clicking on the “Edit” button.
Step 8: Attach Documents (Optional)
If there are relevant documents, contracts, or agreements associated with the customer, ERPNext allows you to attach them to the customer record. Look for an option to upload or attach documents.
Step 9: Verify and Confirm
Double-check all the information to ensure accuracy. Once you’re satisfied, consider the customer creation process complete.
Step 10: Utilize Customer Record
With the customer record now in ERPNext, you can efficiently manage sales orders, invoices, and other transactions related to this customer. Explore the functionalities offered within ERPNext to optimize your customer relationship management.
Wrap Up
To conclude, creating a customer in ERPNext is a straightforward process that lays the foundation for effective customer management. By leveraging ERPNext’s capabilities, you can streamline operations, enhance communication, and ultimately contribute to the success of your business.
Start maximizing your customer relationships with ERPNext today!
If you’re looking for expert assistance to implement and customize ERPNext and unlock its full potential for your organization, we’re here to help. Drop us a message, and our experienced team will be delighted to guide you.
You can reach us via email at info@15.206.92.4 or give us a call at +91 9841205845.
Or, stay connected with us on LinkedIn, YouTube, Facebook, Twitter, Pinterest, or Instagram to get your share of exciting updates on ERPNext and other relevant topics..
PC: Canva
